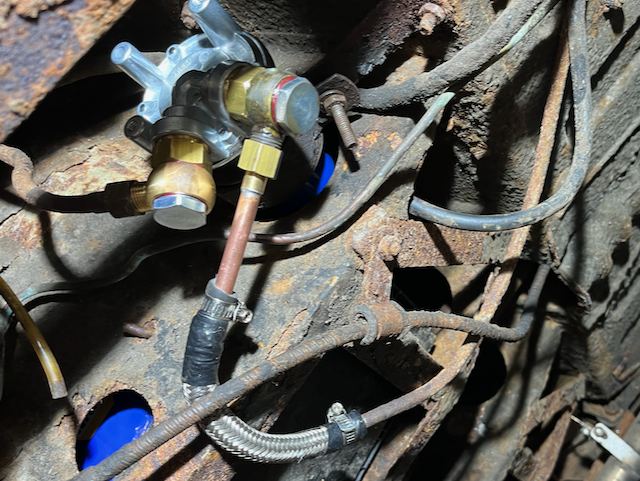
Having removed the old: in with the new!
I started by installing the new pump - don't know why, but I had to start it somewhere, so I started there.
The new pump is smaller and lighter, but otherwise has the same fittings and fixtures. The new pump came with a new hardline to go to the tank, and a rubber line to attach to the main fuel line to the front. I inserted the new pump into the clamp, bolted it up snug, and attached banjo fittings which connect to the lines. I chose not to re-plumb a new hardline to the rear - it looks a little tricky, though I should do it at some point as the current line looks pretty rusty. I also pushed the new rubber hose onto the line going to the engine bay.
Important note: steel braiding on the exterior of rubber hoses is always the worst. I always cut myself, and it never stays within the boot it's supposed to.
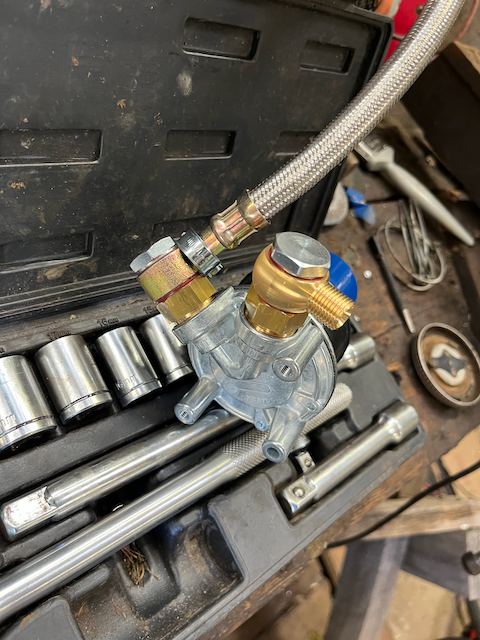
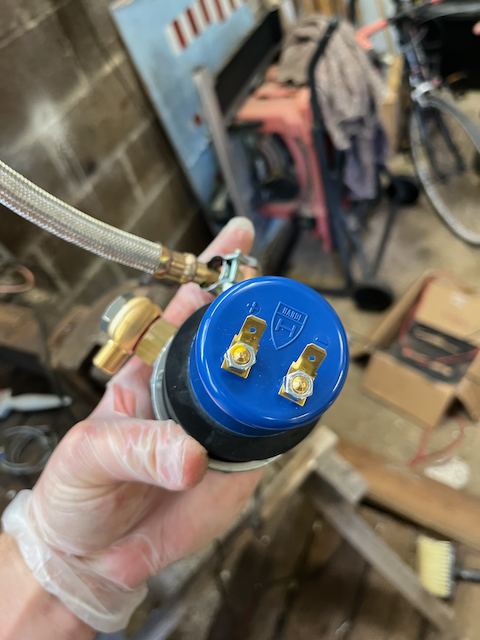
Interestingly, the old pump had wires coming off it to plug into the harness, the new one has two male connectors on the body itself. Luckily, the harness was long enough to reach - otherwise that would have been a boring 10 minutes creating some extenders.
New tank time. Firstly, screwing in the sender unit took some trial and error. Eventually, I needed to bend in the holding tabs to get it to seat properly. The order goes: rubber sealing washer, sending unit, locking ring. Once it was in I first twisted, then hammered the locking ring to get everything secured and fuel-tight.
I had to install the captive nuts in the correct locations on the lip of the new tank, namely: two in the middle on the left, both of the back, one in the middle on the right. Oddly, I couldn't install these nuts without scratching the new paint - hello, rust!
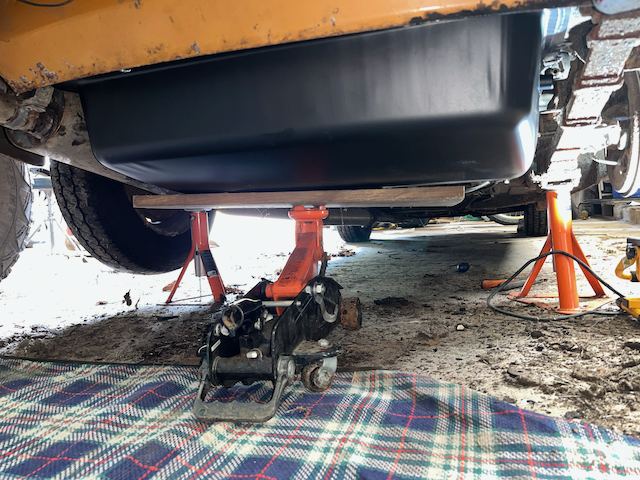
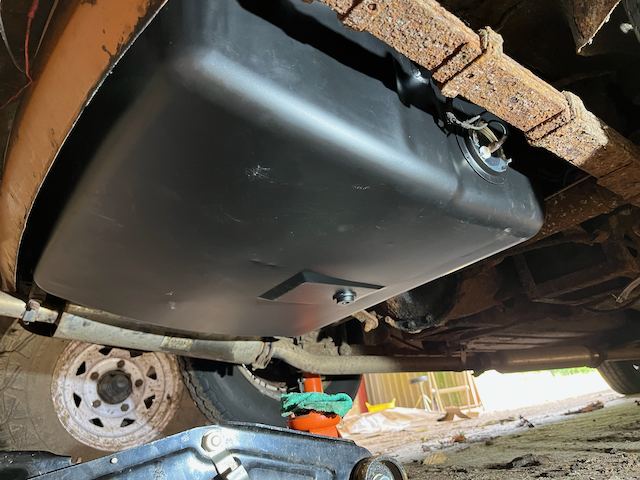
Once the large hole in the side of the tank had been filled, it was time to actually install the thing. I initially lifted the tank up using the floor jack, but eventually just jammed my hand underneath and lifted one haded to locate the tank onto the downward-extruding studs. Having to do this one haded while also screwing on a washer, a locking-washer, and a nut is very hard - but not actually impossible. Once all of the studs were one loosely, the bolts could go in from the top, with a fibre and metal washer. Everything is screwed down (or up) snugly and the fuel tank is on!
Connecting the hard line to the pump, and the fuel sending unit wires (green and black to the central, black to the ground).
So, all done! Turn the key, drive off! Sadly, no...
For some reason, no fuel appeared to be getting to carbs. The fuel filter remained stubbornly empty, despite the loud and incessant clicking noise coming from the new pump.
Time to trace the issue. I knew that the pump was working (as I could hear it). I knew that the hoses were connected to it in the right order (there's helpful arrows on the Hardi pump). So, I started at the front.
I unscrewed the jubilee clip from rubber line in the engine bay which feeds the carbs, coming off the copper pipe which runs from the pump. Dry, check further back.
Removing the rubber line from the back end of that same copper line (i.e. where it takes it feed-in from the pump), also showed dry. I checked the hard line going into the pump - fuel!
This told me there was fuel going in, but not coming out. So, I unbolted the out-flow from the new pump. This came off easily, along with a spurt of fuel indicating some backed-up pressure. Perhaps, then, a blockage in the rubber line?
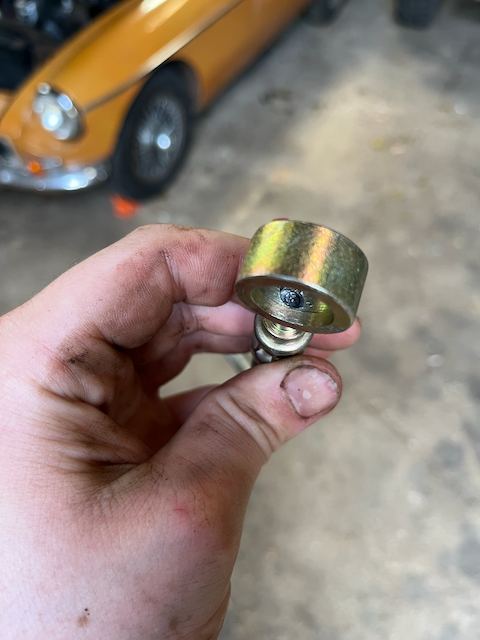
Blowing through the rubber line with some carb cleaner didn't clear it, though. A closer inspection of the banjo connector showed that there was actually no hole from the banjo-ring through to the rubber tube! Balls.
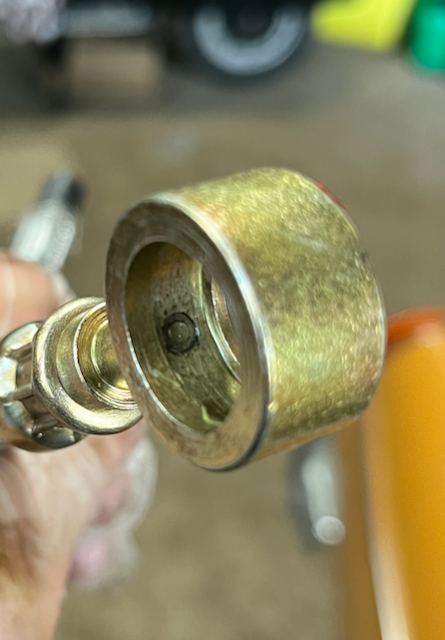
It's not clear why there was no hole - perhaps some crimping issue, or some defect in the banjo ring? Whatever the issue was, it was really, really, really, annoying.
Then followed a long period of trying to drill out the hole, fitting, testing, undoing, redrilling, refitting, retesting, re-undoing, etc, etc. This didn't work - it wasn't possible to get the right angle with the drill, so any hole was at angle, this means that you'd need a really really long thin drillbit to make it work - a drillbit I didn't have.
I gave up on that after a while.
I had another idea: I still had the old connectors! The old rubber line had perished and leaked hard once I test it - perhaps the trauma of removing it had killed it. I did, though, have the threaded end, some copper tubing with a nut that would connect to it, as well as various bits of tube a clamps.
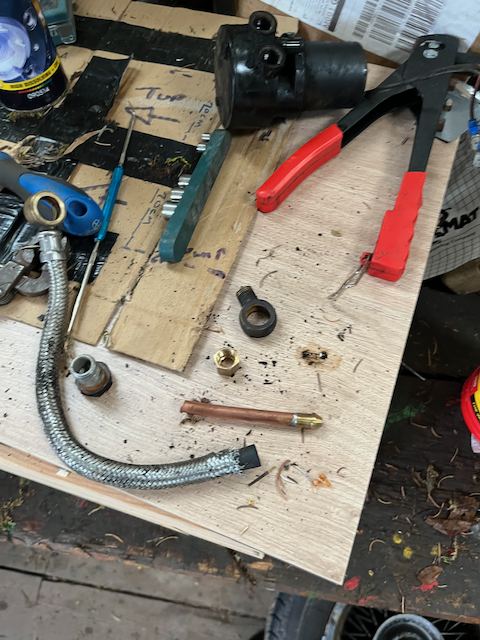
So, I could attach the threaded banjo connector to the pump, then bolt a short length of copper pipe to that threaded connector, then plug that into a short length of rubber tube which could also be connected to the copper line on the car to take it forward!
Amazingly, this worked, though felt very fragile. I drove it around for 10/15 miles, but will be replacing it with a proper connection as soon as I am able.